- Read an input GEDCOM file
- Perfom estimation on the data
- Write a new GEDCOM file with the estimated dates
1. Read input GEDCOM file
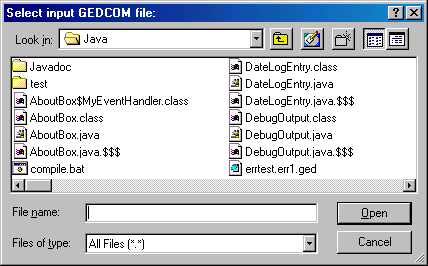
To use the GEDCOM Estimator, your genealogy data must be stored in a GEDCOM file. Most genealogy software packages are able to export their data to a GEDCOM file. Consult the documentation of the system you are using if you are not sure how to do this.When you start the estimation procedure in the GEDCOM Estimator, you will first get a file dialog like the one shown below, asking you to select an input GEDCOM file. Select the file you want to perform estimation on. The file dialog will close, and the status window in the main window will be updated with "Reading input file..." and then "Creating database...".
2. Perform estimation on the data
Once the program has built an internal representation of the file you selected, it will attempt to perform estimation on the data. This will happen automatically - you don't have to tell the program to do so. The status window will be updated with "Estimating dates..."If the program was able to do the estimation without problems, it will proceed directly to step 3. However, if the program encountered problems, further action is required. The most likely problem situation is that the program was not able to give a meaningful estimate for a certain date. The program always tries to give the estimates as year ranges, with an earliest and latest possible year. However, the constraints might contradict each other, and result in a year range where the start is later than the end, i.e. a negative year range. If the program encounters a negative year range, there are two likely reasons:
- There is an error in the input file. One or more events didn't actually take place when it is specified that they did.
- The values for the options does not apply in this particular case, e.g. one person in the database might be older than the specified maximum living age.
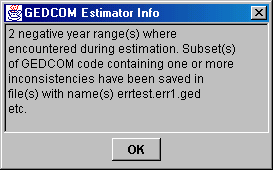
If you get the message saying that negative year ranges where encountered, you should first
check the options and see if you think the values apply to this
particular set of data. If they don't, change them and try again. If they do, you should
look at the subset files to see if you can identify what is wrong.
3. Write output GEDCOM file
Finally, the program is ready to create a new GEDCOM file where the estimated dates are included. You will get a new file dialog like the one shown below, asking you for the name of the new file. It is not recommended to write to the same file as you used for input because you might want to have a look at the estimated dates before you decide whether to keep it or not. The status window will be updated with "Writing to file